

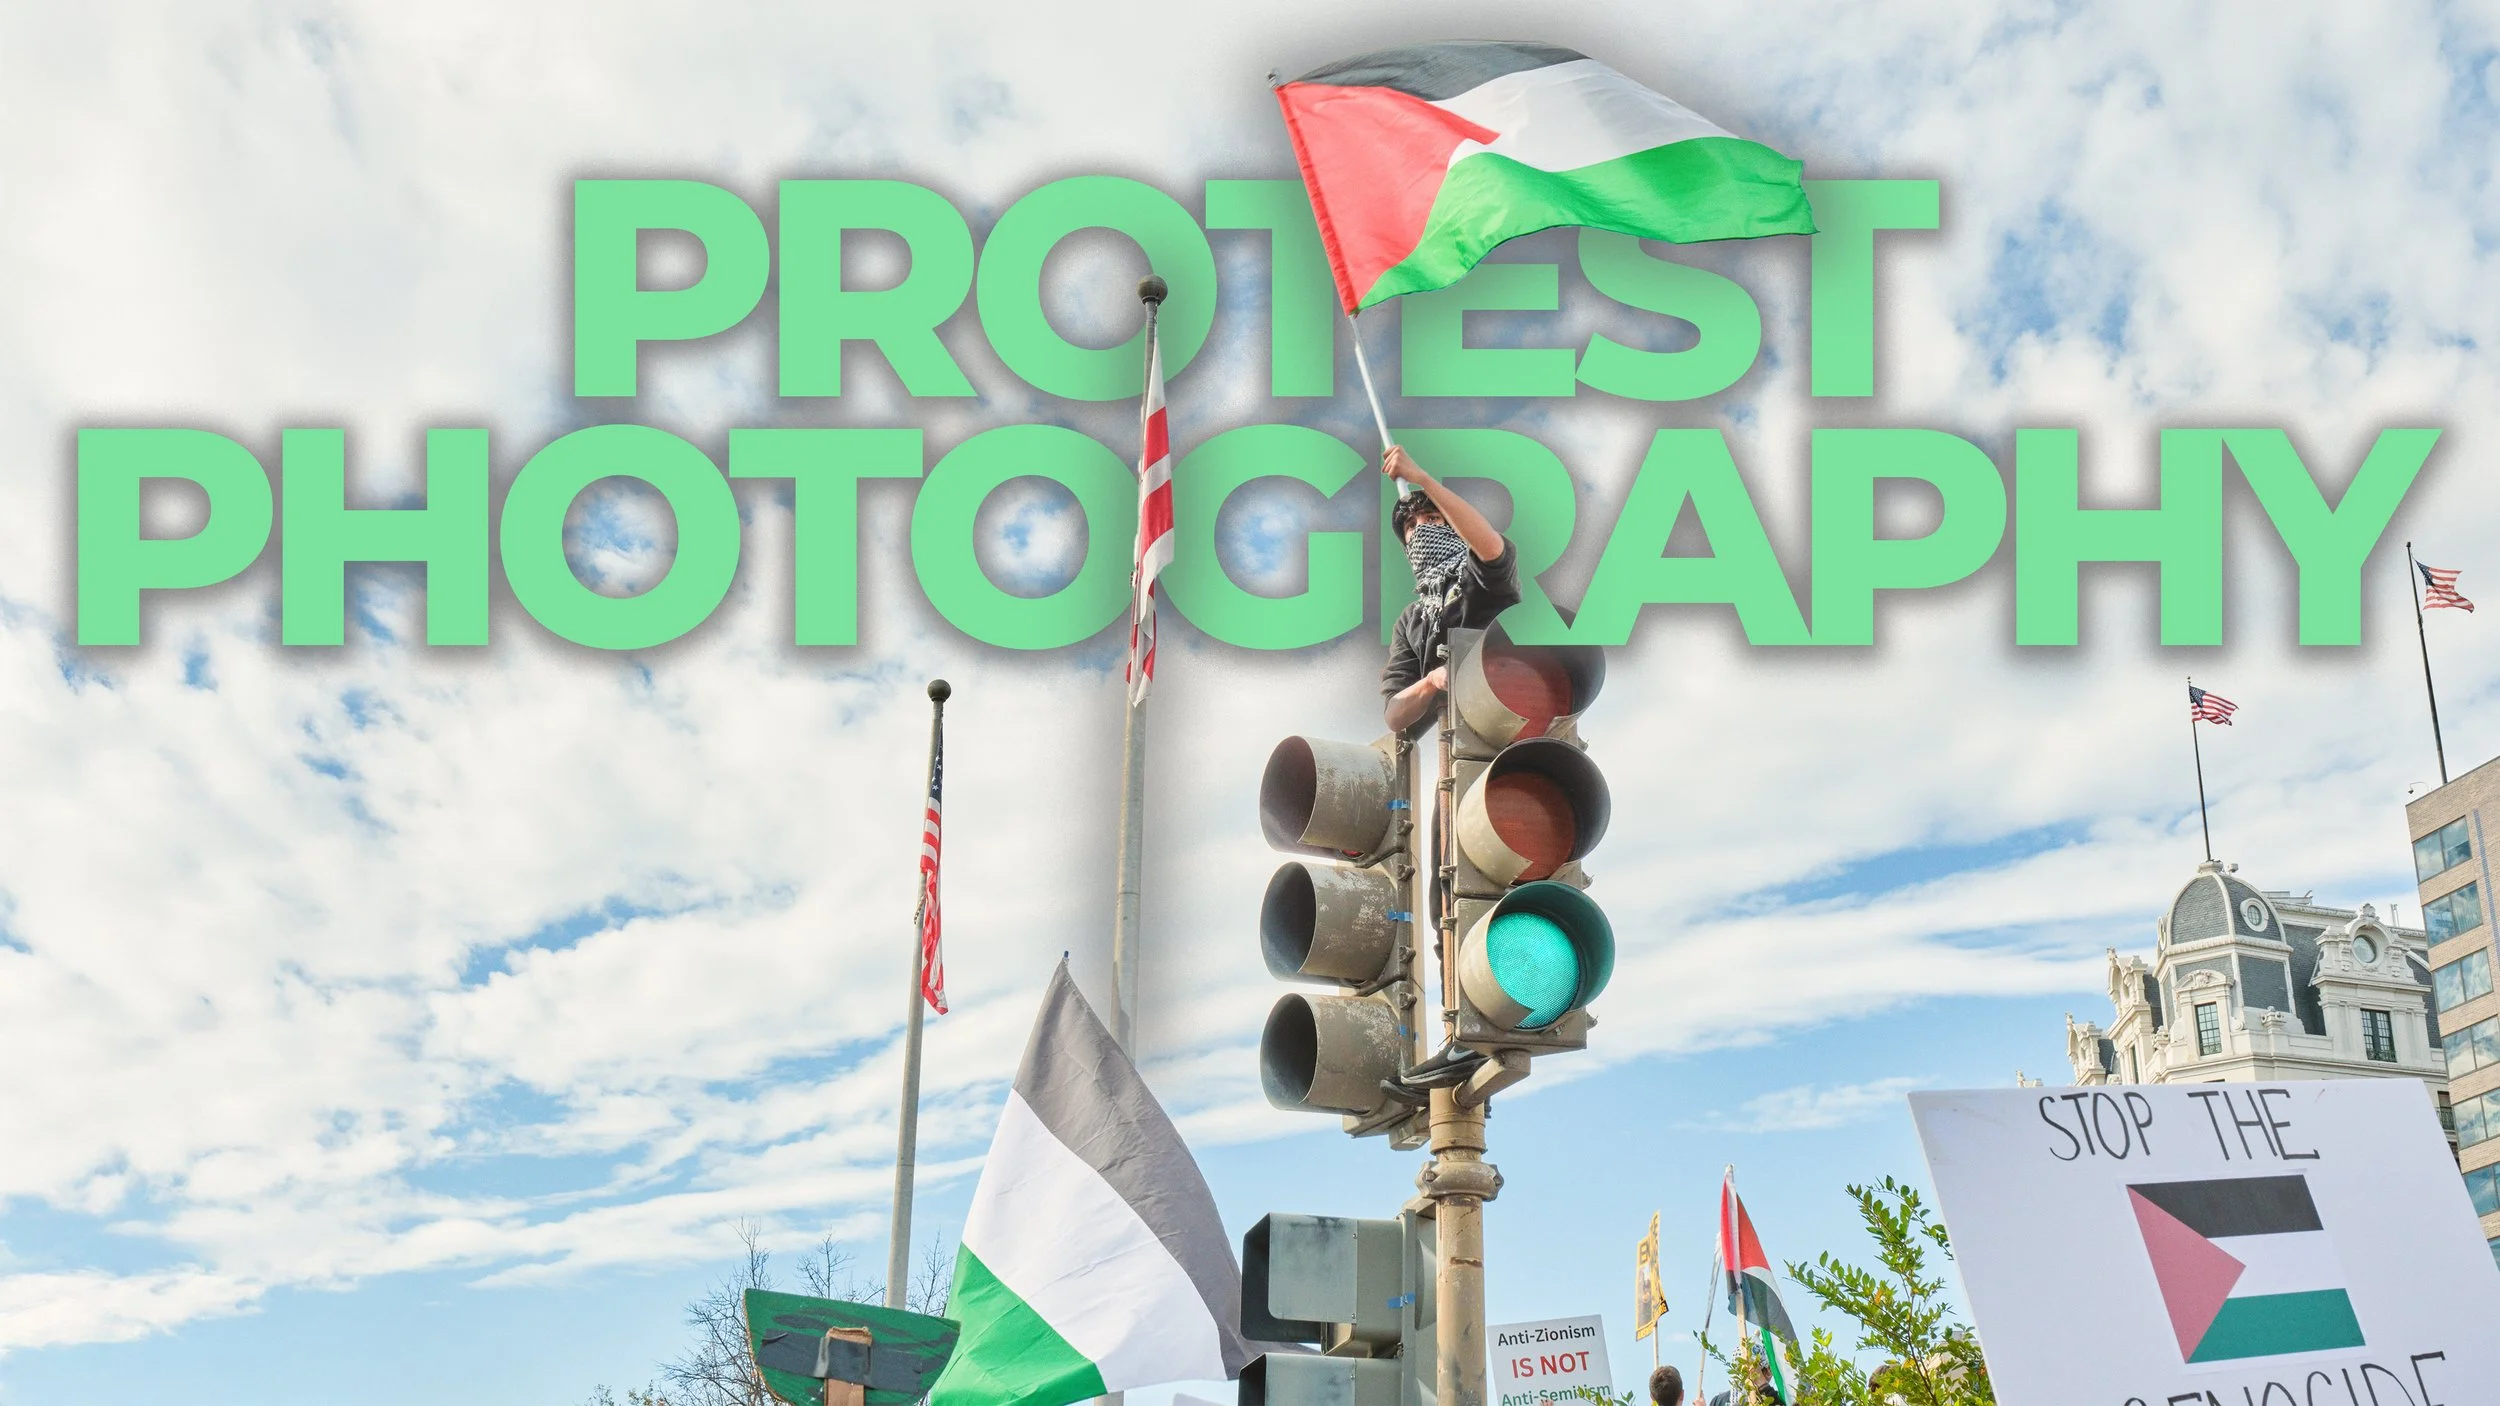
How To Shoot A Protest
Heading to a protest and want to capture powerful images without getting in the way or risking your gear? This guide breaks down the simple, practical setup I use at every rally—plus the key techniques for shooting while moving, staying safe, and respecting the crowd. Whether you’re new to documentary work or just want to document your next march with confidence, these tips will help you come away with stronger photos and fewer headaches.
How to Shoot a Protest: Gear, Technique, and Staying Safe
Today’s not only going to be a lesson in how to shoot a protest—it’s also going to be a test of how good the wind muff is on this microphone. We’re going to find that out together. And exposure? Not my friend today. That’s what happens when you decide to shoot during midday sun.
For today’s episode, I’m giving you three pieces of advice on how to take photos during a protest.
I genuinely can’t believe it’s been over a year at this point, but I’ve been protesting the ongoing genocide in Palestine being carried out by the Zionist state of Israel and the United States government. At this point, I don’t think there are any secrets there.
This leads me into my first point: make sure you are on the right side of history. If you’re going to attend a protest, make sure it’s against killing civilians, flattening a land, and further expanding a colonial state. Killing children, women, and, believe it or not, men too? That’s bad. Never mind the whole “let’s annex the West Bank and Gaza” thing—I can go into a separate video on that.
Along with what’s happening in Sudan, Congo, and all of it being carried out by the same group of people—and, of course, “orange man bad,” he’s in office now too—I’m anticipating a lot of protests in the next couple of years in the United States. Here’s a guide for you. And if you’re on the wrong side of history, this is still a good video for you to watch. When they put your photos alongside Nazi Germany photos for comparisons in the future, I think you just want people to comment on your lack of morality—not make fun of your photos.
With that being said, let’s get into it.
1. Keep Your Gear Simple and Practical
Protest photography—I don’t really know if that’s a genre or not, because I feel like it falls under documentary. But a big question people have when they want to go to a protest that means a lot to them is: what kind of equipment do I bring?
I’ve seen people bring film cameras, which I thought was a very interesting choice. But sure enough, those photos still capture the emotion and the environment. So if you’ve got deep pockets and you like developing film, that could work for you.
When people ask me, I always tell them to go with a very simple setup:
One camera
One lens
A shutter of some type
A monopod
The reason for this is that you want to be as practical as possible while you’re on the move.
If you’ve got it, I always recommend going with a 24–70mm. You get a relatively wide lens along with a medium telephoto in case you want to isolate anybody—via a speaker, via someone with a very clever sign, whatever the case is. The 24–70mm is typically the most boring lens in any camera ecosystem because it’s the most versatile and doesn’t really stand out in anything, but it also does everything very well.
My camera of choice is typically either the Fujifilm X-T5 or the X-H2S when I go out, because they’re the smallest cameras I own. But if you have something even smaller—like a Ricoh GR III, a Sony RX100, or any small camera—I’d recommend taking that. Not only does it reduce fatigue, especially if it’s going to be a longer day, but it’s easy to just kind of stash your gear and be on your way just in case you ever have to part ways if you’re going to be staying later.
Maybe a small, fast prime is okay to keep in your bag or your pocket if you have access to one. But the reason I typically recommend having just one lens is because you don’t want to be the person who’s holding up anyone behind you because you’re busy switching out a lens just to get a very specific shot.
People get a little weird. That weirdness that we have where we have to bring all our gear to a place to take photos—sometimes carrying that into an environment where something being knocked out or shooting at the lowest ISO really isn’t the factor—is still a habit that’s ingrained. This is a pretty good environment to start breaking those habits in, in addition to documenting everything going on around you.
2. Use a Cheap Monopod (and a Remote Shutter)
The second thing I want to bring up is a monopod. This monopod is a cheap one I’ve had for seven, eight, nine years—something along those lines. It’s an Amazon Basics monopod.
There are two reasons why I want you to go with a cheap monopod:
If it breaks or it gets lost, no big loss.
It’s small, very light, weighs almost nothing. There are no fancy feet, no fancy fluid head up top.
All you do is screw it into your cage if you’ve got one, or directly into the camera if you don’t. There is no failure point between this monopod and your camera body for anything to accidentally slide off and potentially bop someone in the head—bop you in the head, break. No one wants to break their expensive camera.
If you find yourself in the middle of a situation, the last thing you want to do is look up while you have to pay attention in front of you and potentially have someone knock it out of your hands. Maybe that Arca-Swiss mount got a little loose while you were walking the entire day, and suddenly your camera flips over to the side and falls down. No good.
The most minimal setup is the best setup that you can possibly have.
Now you might ask: why a monopod? It’s really just for one reason.
Typically, when you’re taking photos at a protest you’re attending, you’re going to be at the same eye level as everyone else. I’m 5'8" on a good day. When I have a monopod, here’s where my vantage point is—and that’s where a lot of my shots are. I’m not even sure if it’s completely in frame, and that’s how I take a lot of my photos and videos when I’m at these events.
It shows how many people are present, and it gives you kind of a bird’s-eye view—especially in places where drones aren’t allowed. And I definitely don’t recommend flying a drone at a protest, for those wondering.
This piece up top here is a remote shutter. This, while not a necessity, just makes your life a lot easier. This one’s a wireless one—I’ve had it for six or seven years, the Aputure Pebble. It’s got a little Bluetooth or radio remote.
Pretty much, I’m walking around like this for any event that I’m covering. The reason I say remote shutter: for obvious reasons, but just to mention it—when you put it up in the air, you can just take shots, fire off shots, no problem.
Otherwise, what you have to do—and I have done it in the past, and you do get quite a shoulder workout after a while—is you’re going to set the two-second timer on your camera, bring it down, press it, lift it back up, take the shot, bring it back down, press it, take it back up, and so on. It fatigues you after a while.
Of course, you can use a cable shutter if you do. If you do, I recommend taping it somewhere that you can reach, or at least taping a portion of the wire. But the reason I like the wireless is that there’s no potential for the release to actually start swinging around the monopod, or again bop someone in the head accidentally, or potentially get caught in a railing as you’re marching down the street.
I typically go with a backpack or a hoodie, so I’ll always keep the 16mm or 18mm f/1.4 prime with me if I know it’s going to be a late day, just to keep the grain down a little bit. But I’ve taken photos with this thing pumped up to ISO 5,000–8,000 with absolutely no problems—and that’s not even applying modern-day denoising tools.
If you’ve got an older camera like the Canon 5D Classic that I did a video on a few weeks ago, it’s going to be a little difficult, so you are going to have to consider the aperture when things start going dark. But if you have a more modern camera—something released in the last five or six years—I think you’re going to be okay. If I had my Fujifilm X-T3, I’m pretty sure I would have taken the exact same photos with the exact same image quality with no issues whatsoever.
3. Learn to Shoot While Moving (and Don’t Block the March)
So you’ve got the gear. This is how you’re supposed to conduct yourself and shoot while you’re in the protest.
If everyone is standing still, you can go ahead and take your angles, take your time, set your shutter speed, play with your ISO, and you’re good to go.
One of the biggest issues is that when people are actually marching, people will literally go and then stop to take a photo while the world behind them is still moving forward. Don’t be that person.
You’re going to have to learn how to shoot while you’re actively walking. When you’re actually shooting while moving, it doesn’t really make a huge difference, because the camera’s going to be moving along with all of your subjects.
Get comfortable with pumping up that ISO as need be, and get comfortable with shooting at faster shutter speeds.
For most processions, I recommend everyone just keep their shutter speed at 1/250th of a second. If you’re in places that have a lot of shadows from buildings or something, you can actually just put your camera in shutter priority mode and not worry about anything else.
What that means, for anyone not accustomed to it, is that you lock your shutter speed at 1/250th to tell your camera: “No matter what, this is what I want the shutter speed to be.” It’ll adjust exposure using the aperture and ISO on its own.
Personally, I keep everything manual, or I’ll only have auto ISO enabled. I’m not really looking for a shallow depth of field when I have this up in the air, so I’ll typically keep aperture anywhere from f/8 to f/11 to have a really sharp photo, and shutter speed at minimum will be 1/250th of a second.
Auto ISO—most cameras nowadays have pretty decent auto ISO. Keep it in RAW so you can adjust exposure in case the auto ISO ends up giving you a weird reading and overexposing your image.
Those are my two big pieces of advice.
With the X-T3 or X-T5’s tilty screen down, it’s super helpful—really helpful—to see what you’re shooting, keeping in mind I’ve got the remote shutter attached. Here’s the remote right here. I’ll have this in my hand, this in the air as I’m walking, checking my level, checking my framing, and taking shots, no problem.
Also, this is another benefit of having a monopod: you can just turn it around, tilt it down a bit, take some more shots. That way, you’re not just capturing the back of people’s heads. Those are pretty unique perspectives, because normally you’ll only see those shots of people’s faces from the sidelines—news reporters or local enthusiasts that’ll just take shots of every protest that happens in their town. But just seeing so many people, and all the diversity in the background—if you’re at the right rally, that is, in the crowd—it really is an incredible shot to capture.
This goes without saying, but for courtesy’s sake: if someone’s covering their face, do not identify them. If they take off their mask to eat or something, you don’t take that shot. Otherwise, if it’s like me—I show up, nothing on my face—I don’t care if you take my shot. That’s like the general consensus.
Also, I really can’t stress this point enough: do not stop while the march is going. If you do want to stop and take a shot, same rules apply: go to the outer edges. Typically, they’re a lot slower. That’s where you’ll have a lot of media taking photos—that’s kind of like the rest area for everyone, if you will. You’ll find areas that are like rest stops for everybody throughout the routes.
This is how I shoot every rally that I attend, either photo or video.
Some advice if you’re soloing this and you’re doing video and you’re going to be interviewing people: something like a DJI mic, something simple that you can pop on and pop off for people—that’s really going to be the way to go. Shotgun mics, unless you’re standing this close, no matter how directional they are, are going to pick up a lot of ambient noise. Typically at a rally, there is a lot of ambient noise. The less processing you have to do in post to save audio, the better, because the tools still aren’t quite as refined as they are for all the visual stuff nowadays.
Decorum and Safety: What to Do If Things Go South
Last thing I want to touch on is decorum in case anything goes south.
First: try not to accidentally bonk anyone with this. I know it looks like Thor’s hammer with a camera attached, but this is a pricey hammer. Don’t do that.
Second: if you do manage to capture an altercation and some authority figure comes in and says, “Did you take a photo of this person? Can I see your camera?” the answer is always going to be no.
There are a lot of people that show up to rallies that have some very specific agendas from opposing sides, and these are the last people that you ever want to lend a hand to.